Once you've received your modules, prepare the pins you need for your Archimedys™ screw assembly. Attach a pin to the end of the axle. Always provide a thread at the end of the axle to allow module locking.
.
The diameter of the support must always be at least equal to the diameter of the module core.
Step 2
Assemble your modules
Simply stack the modules on the axis, according to the screw profile you have defined. Start and end modules must have a flat contact face. TRH and FRH have a flat contact face as standard. It is possible to re-machine one side, or adjust the screw length.
Step 3
Lock your screw
Video explanation
Its modular polymer screw resists corrosion and abrasion, and can be assembled in just a few minutes.
Different end configurations are possible
A
Without machining the axis and using a standard hexagon socket.
Locking on the axle is achieved with a pin that is simply drilled when all modules are in position. This side can be used for mounting bearings.
B
The hexagonal pin is turned to the appropriate diameter. Next, a simple bushing is used to lock the modules in position with a pin.
The ends of the axle can be threaded to facilitate module locking. This side can be used for mounting bearings.
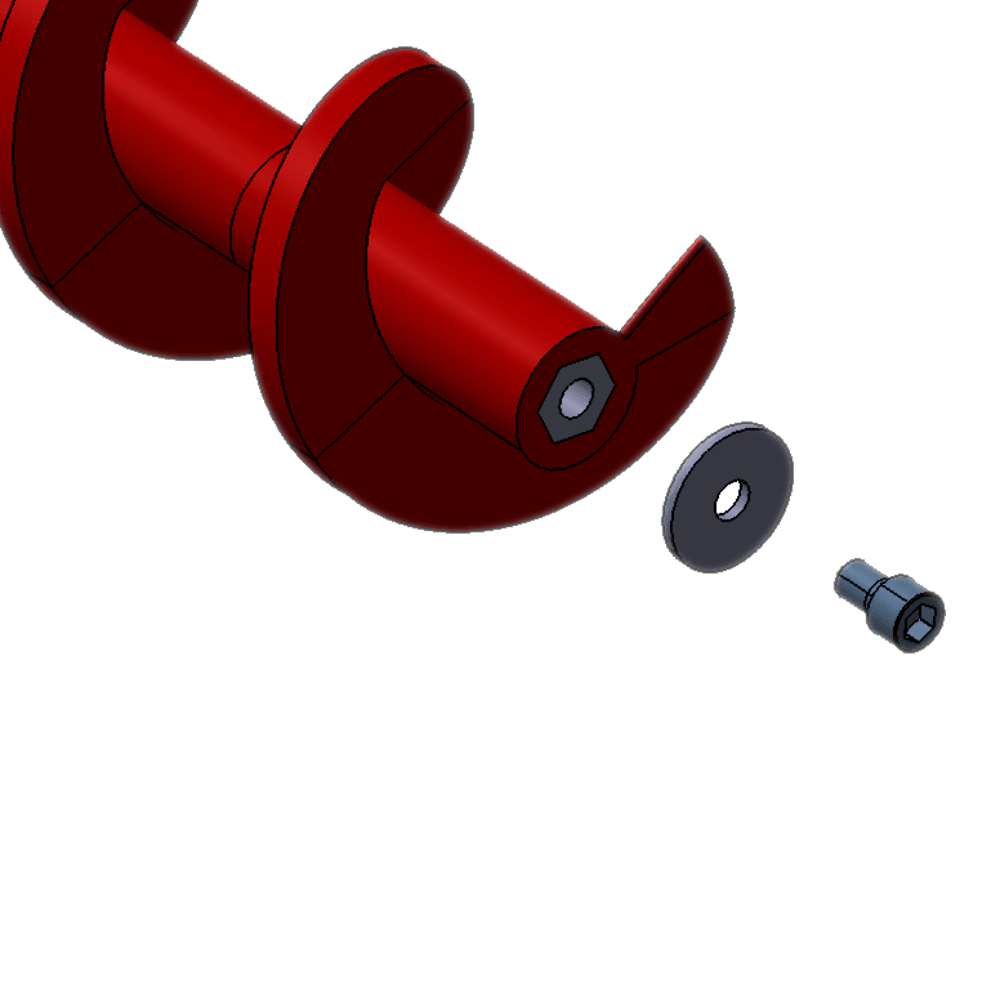
C
When the material flows in the direction of the screw, the modules can be locked in position with a conventional screw and steel washer.
The washer must have the same diameter as the module core.
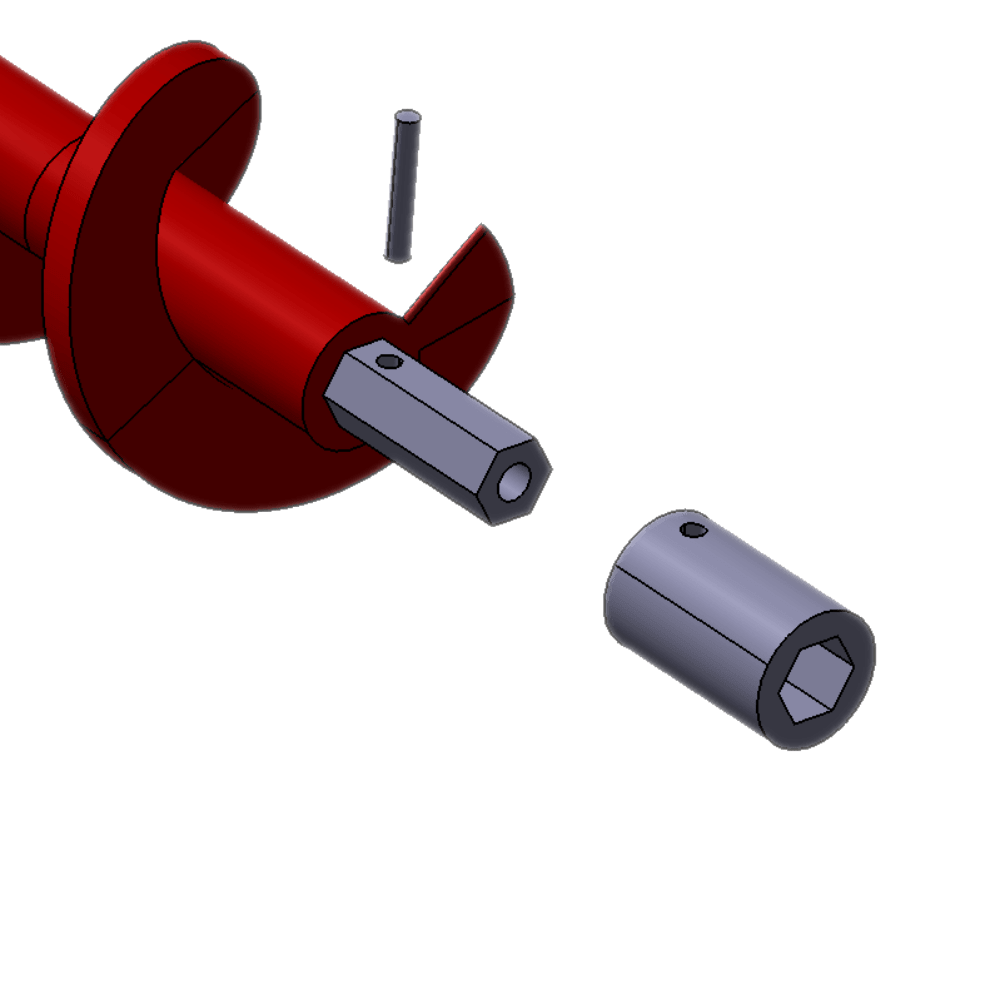
Different motor configurations are also possible
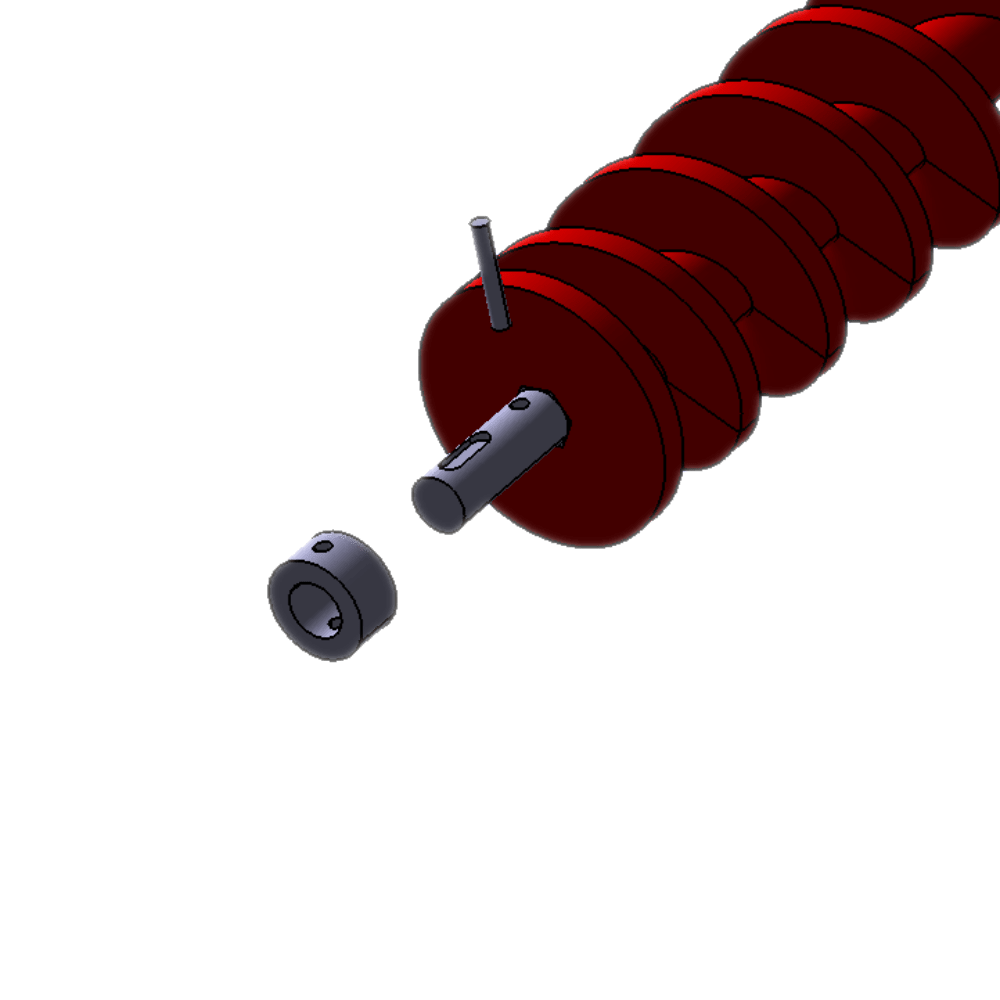
1
Configuration 1 :
the hexagonal steel shaft is not machined. You can use a standard hexagon socket with a cylindrical zone to adapt the motor connection. The bushes are secured with two pins. The keyway can be made directly on the bushes.
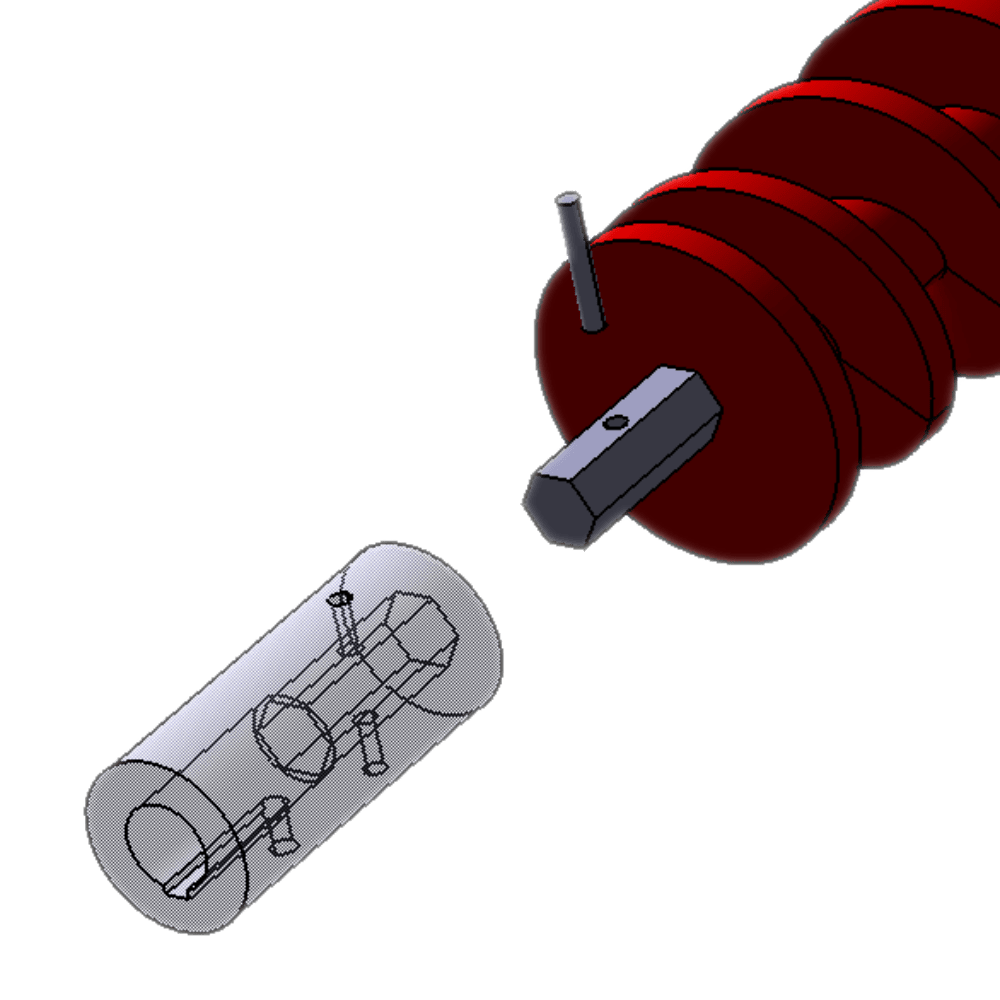
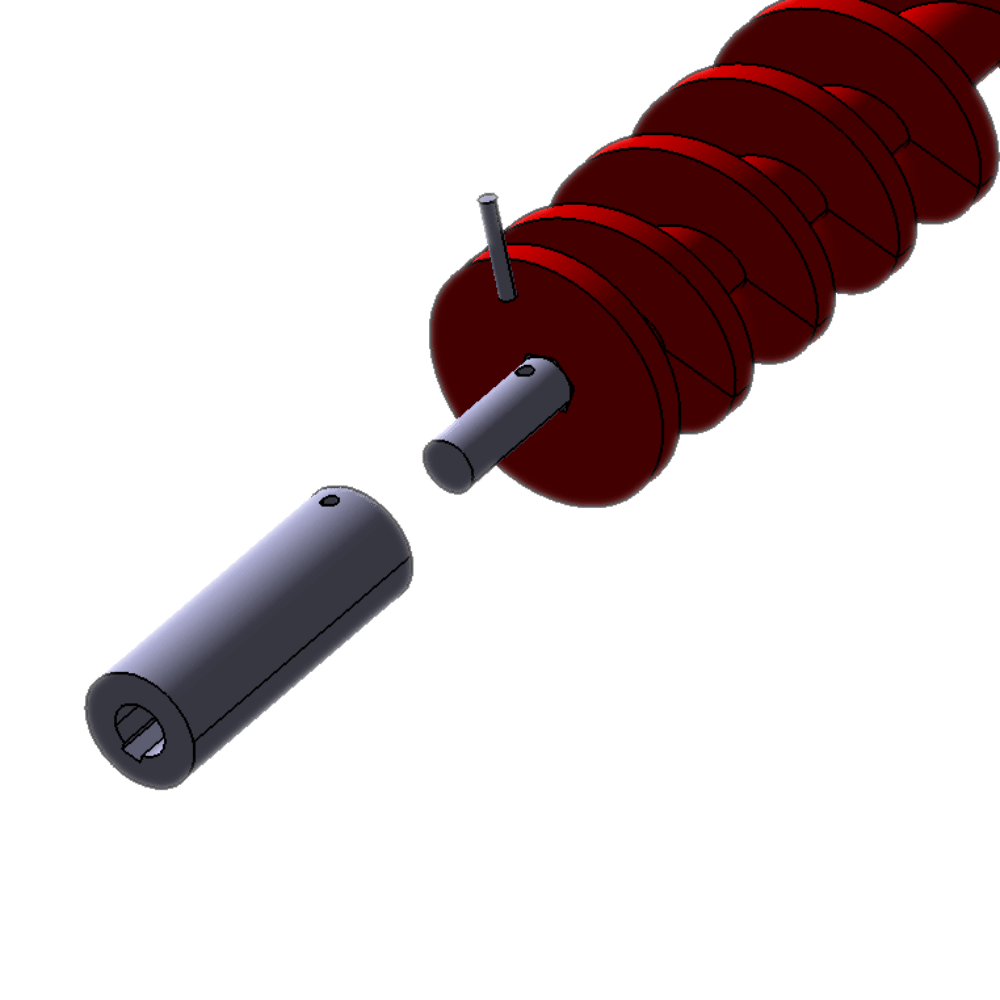
2
Configuration 2 :
The hexagonal steel shaft is not machined. If hollow couplings are used, an additional pin can be fitted to the bushes.
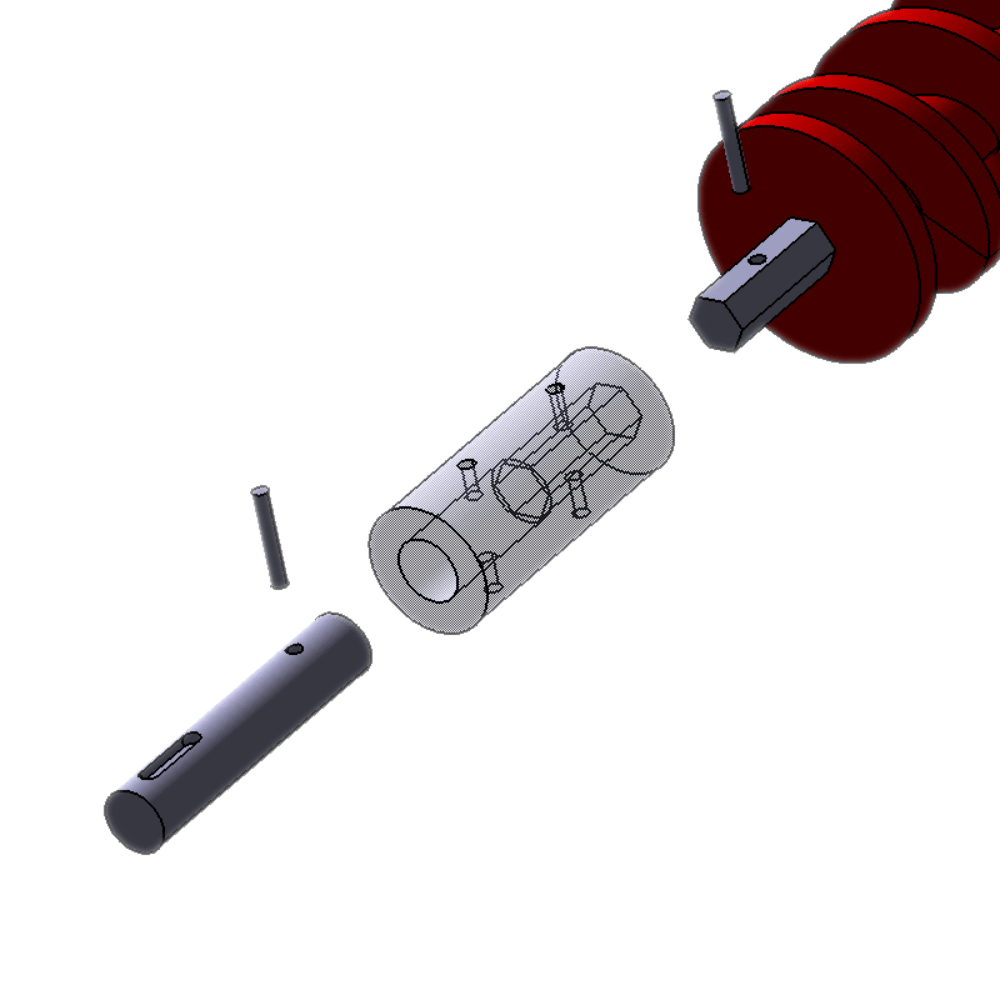
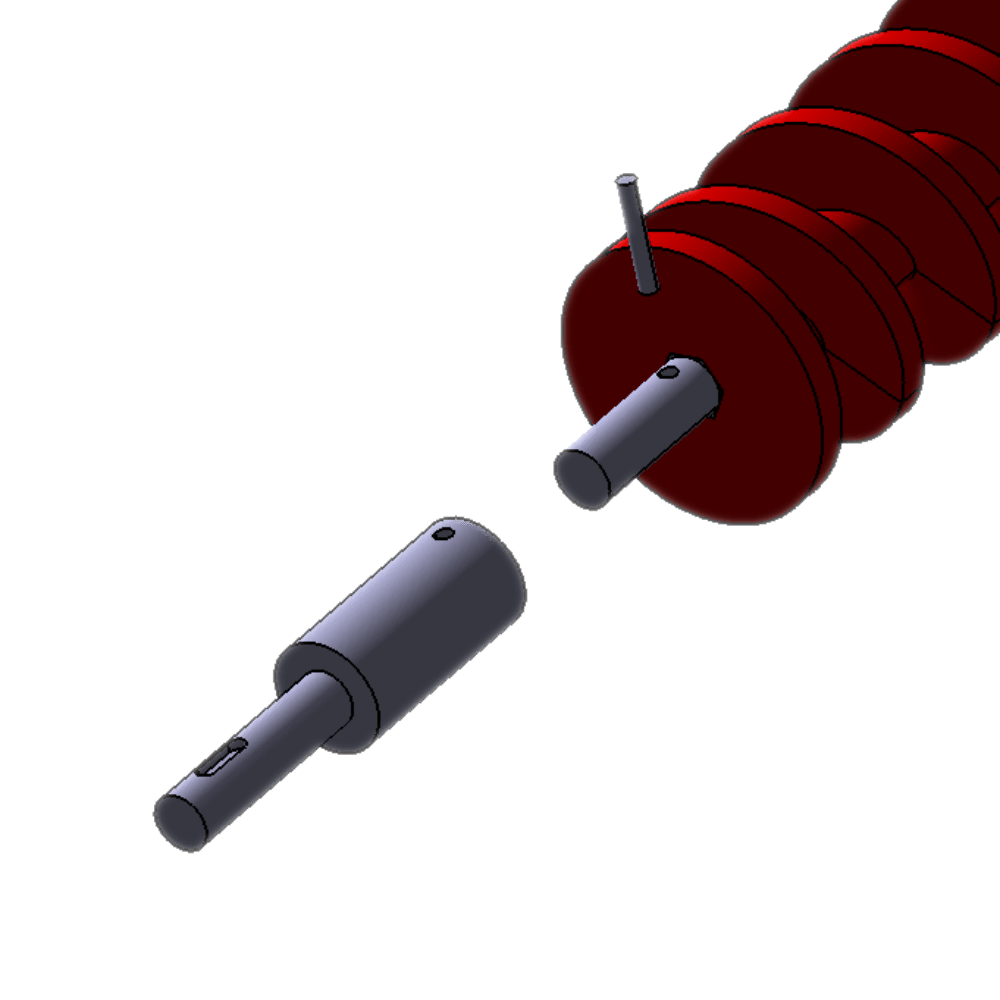
3
Configuration 3 :
In this configuration, you need to machine the shaft and add bushes. Fixing is done with two pins on the shaft side.
4
Configuration 4 :
You can machine the end of the axle and add a steel bushing to lock the modules in position. The keyway is made on the axle.
5
Configuration 5 :
The hexagonal shaft is machined to match the shape of the end shaft. This configuration is mainly used when a drive extension is required.